
Category: Cookbooks
-
The Lula Café Cookbook: Collected Recipes and Stories
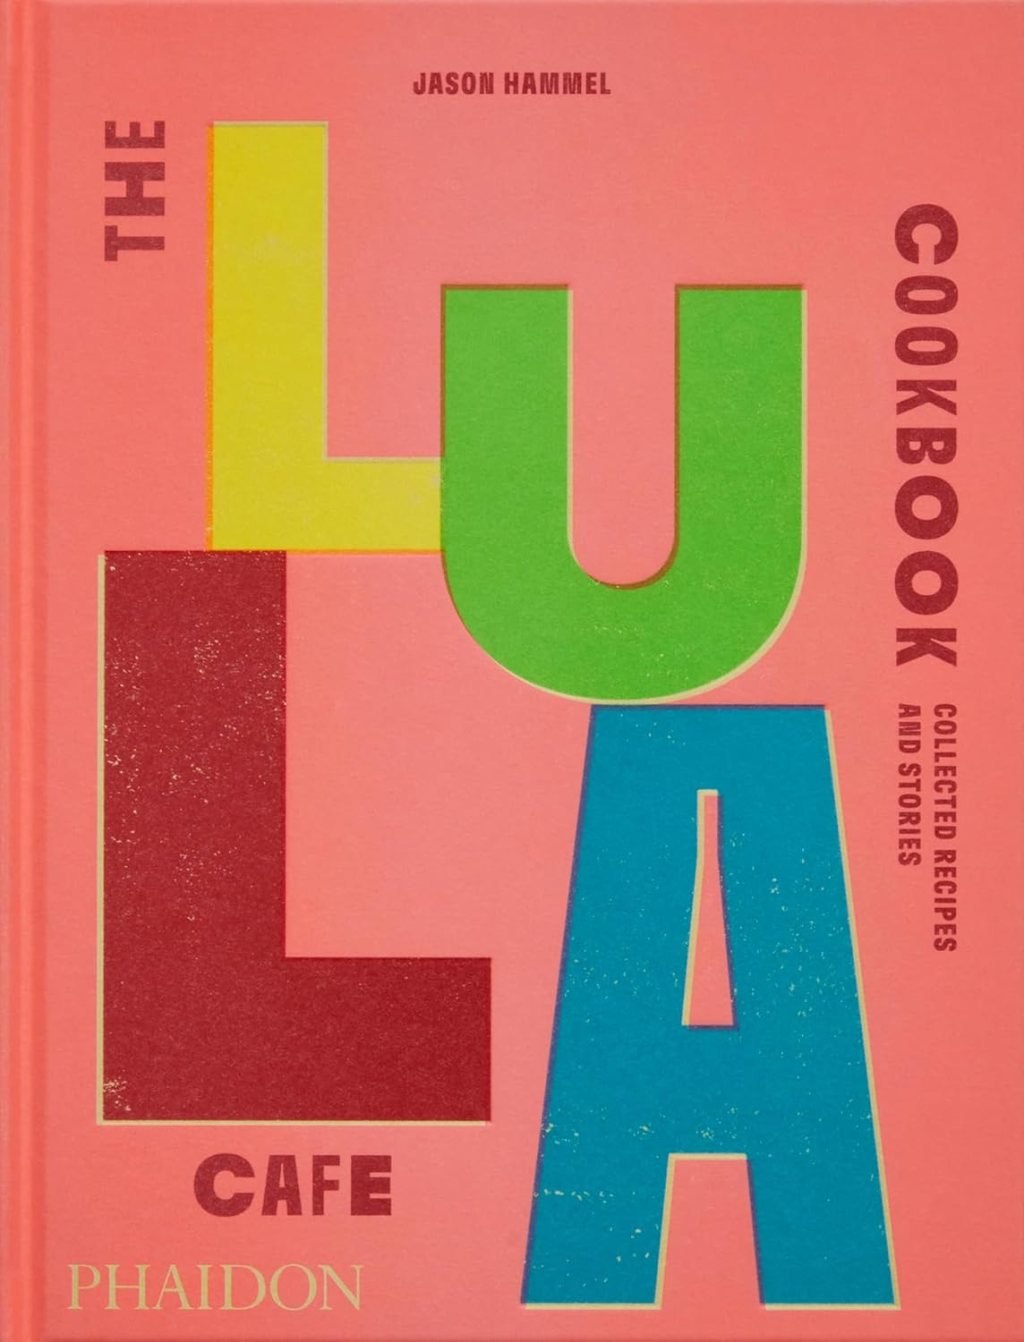
After almost a quarter of a century as executive chef and co-owner of Lula Cafe, Chef Jason Hammel has written his debut cookbook about his popular restaurant in Chicago’s trendy Logan Square neighborhood. The Lula Café is often described as trailblazing with boundary-pushing new dishes gracing the menu every week and Hammel is credited with…
-
Southern Lights: Easier, Lighter, and Better-for-Recipes From the South

“Throughout these pages, I’m going to (politely) refute the claim that Southern food is all bad for you and hopefully breathe new life into some tired, worn-out notions,” writes Lauren McDuffie in the first pages of her latest cookbook, Southern Lights: Easier, Lighter, and Better-for-You Recipes From the South (Gibbs Smith). McDuffie, an advocate of…
-
Peas Love & Carrots

Savory Stovetop Turkey. Photo by Moshe Wulliger. So, before we start talking about Danielle Renov’s wonderful new cookbook, Peas Love and Carrots (Me’sorah Publications, Ltd. 2020; $28.93 Amazon price) I want to take a few moments to whine. I write a lot about food, I have a food blog, Twitter, Facebook and Instagram accounts where…
-
Japan: The Vegetarian Cookbook

Nancy Singleton Hachisu dives deep into the Japanese food scene, having married a Japanese farmer and learning the intricacies of cooking various vegetables and other ingredients that most of us aren’t familiar with. The author of several cookbooks including Japanese Farm Food, winner of the Gourmand World Cookbook Awards 2012: USA Winner for the Best…
-
Islas: A Celebration of Tropical Cooking
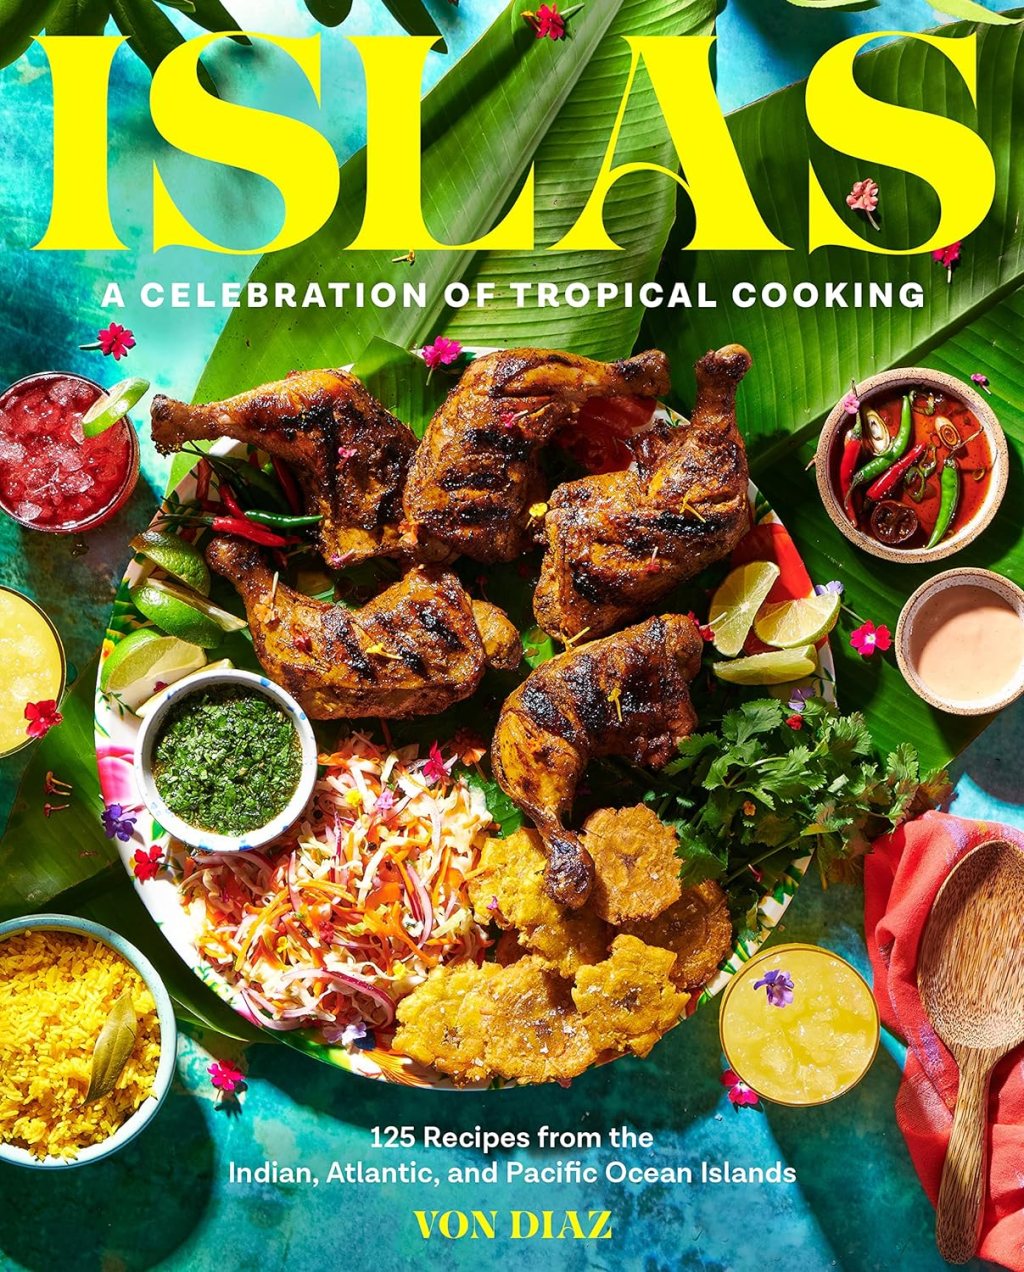
“Whatever you cook or don’t cook, this book is a trip to the islands or islas of the world.” A beauty of a book, all lively colors, and wonderful photos, Islas: A Celebration of Tropical Cooking (Chronicle Books) takes us from island to island through the Indian, Atlantic, and Pacific Oceans. “The people who live…
-
Article: The Most Borrowed Books in New York City Libraries in 2024
The Most Borrowed Books in New York City Libraries in 2024 https://flip.it/M0gnHE
-
Persian Feasts: Recipes & Stories from a Family Table

The cuisine of Iran, with origins dating back centuries, is arguably one of the most sophisticated in the world, offering an incredible array of dishes. This cuisine hails from the lands of ancient Persia and has evolved through the ages to what comprises the myriad and distinct regional cuisines in present-day Iran. Also shaping this…
-
Introducing the James Beard 2024 Book Award Nominees

Baking and Desserts: This award recognizes books with recipes focused on the art and craft of baking, pastries, and desserts, both sweet and savory items, including ingredients, techniques, equipment, and traditions. This year, submissions to the Bread category were included for consideration within the Baking and Desserts category. Dark Rye and Honey Cake: Festival Baking…
-
Koshersoul: The Faith and Food Journey of an African American Jew by Michael W. Twitty
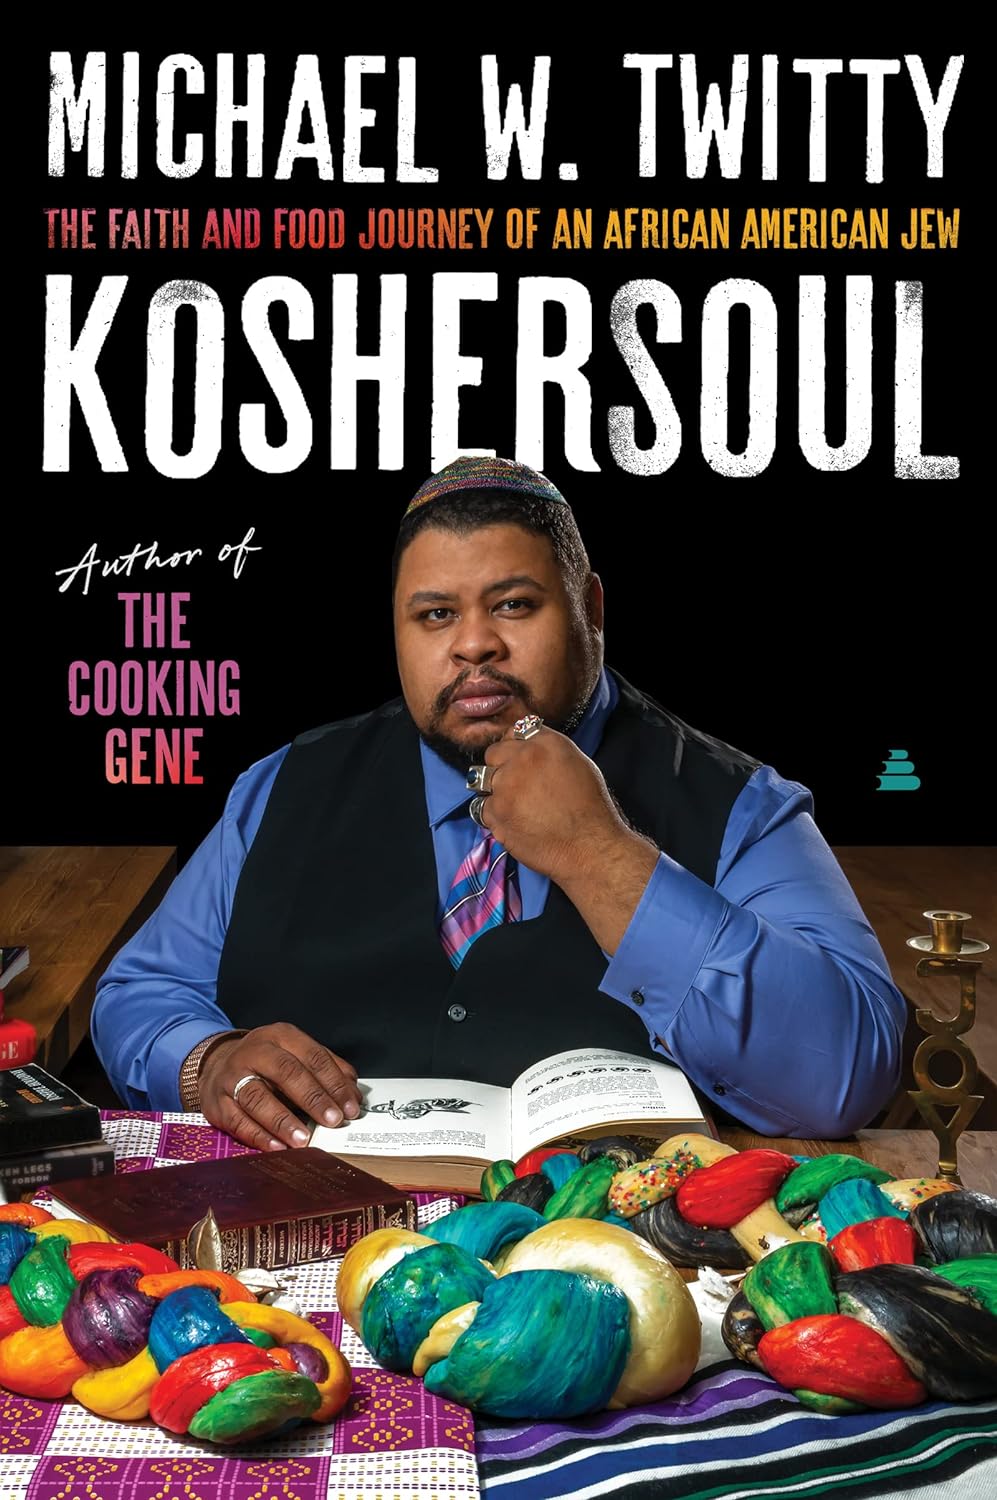
“most importantly, Twitty reminds us that you don’t have to be Black or Jewish to love koshersoul.” Both a cookbook and a memoir, Koshersoul (Amistad) explores the food traditions of both Black and Jewish cultures and how for Black Jewish people, the two combine, becoming a distinctive foodway of its own. “When I first started…
-
THE FLAVOR THESAURUS: MORE FLAVORS
THE FLAVOR THESAURUS: More Flavors: Plant-Led Pairings, Recipes, and Ideas for Cooks by Niki Segnit, the plant-focused follow-up to the global 2010 bestseller and beloved cookbook/ cooking guide THE FLAVOR THESAURUS: A Compendium of Pairings, Recipes, and Ideas for Creative Cooks. THE FLAVOR THESAURUS: More Flavors just received a great review from Booklist which said, “This follow-up to Segnit’s The Flavor Thesaurus…
